Nature is always generous when it comes to crafting material and on that day we were looking for light flat pebbles we would later paint. This is always a fun activity for kids (small and big kids).
What you’ll need;
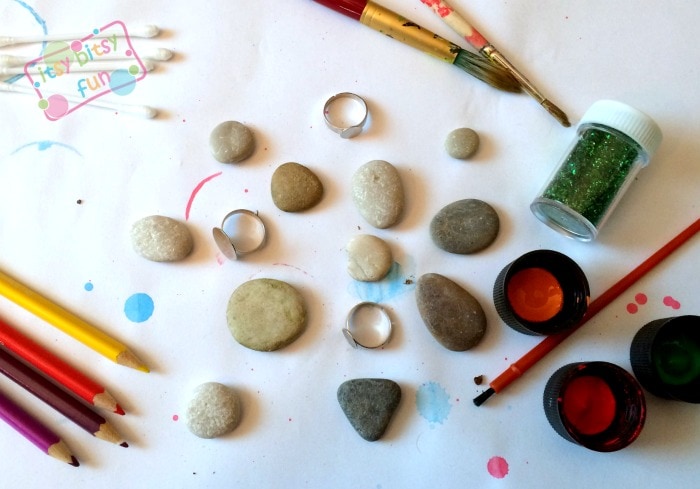
- rocks, pebbles
- craft rings
- colors, crayons, coloring pens, glitter, paint brush,…
- gloss varnish (you can always cheat with clear nail polish)
- super glue, glue gun or surprisingly white school glue
So here’s how we did it!
First you’ll have to wash the pebbles.
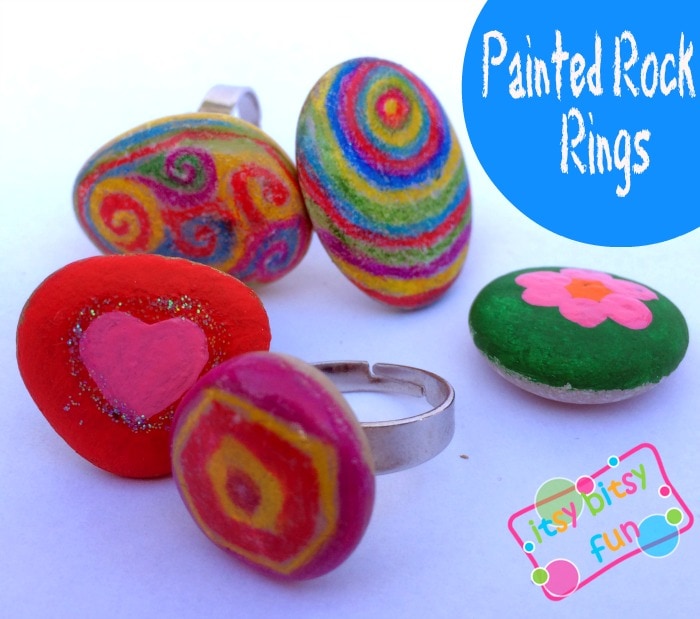
Next comes the fun part! Painting!
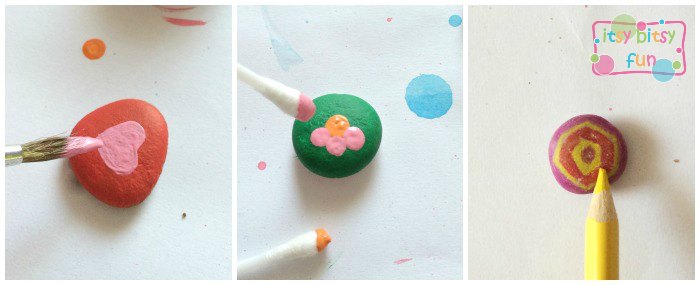
The end results were BEAUTIFUL and to make them last forever all you need to do is protect them with gloss varnish (or clear nail polish :).

I though glue gun would be the most efficient but I was wrong – it does the job but it doesn’t work well with all rocks (if they are really smooth it won’t stick all that well). You can’t go wrong with super glue but keep it away from children! Plain white school glue worked surprisingly well so if you want to make this a kid friendly project from start to finish I’d recommend using it.